
A Step-by-Step Guide to Finding & Removing Dead Bats
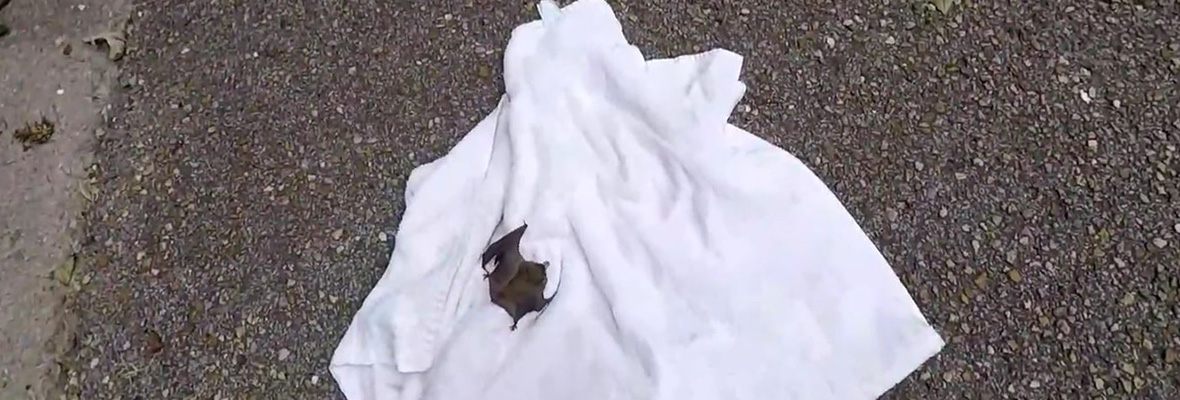
How will you know that you have dead bats in your attic or building? To start with you'll see live bats. Live nuisance wildlife will mean dead nuisance wildlife at some point, but if you have a bat problem, there's a high chance that you will need to find and remove at least one dead bat. If you're lucky, the bat will be kicked out of the roost before it has a chance to die, which means that you could find it lying on the floor on or around your property.
Look directly up from that point at around sunset or sunrise and you'll likely see other bats flying in and out. Although not a pleasant sight for some, these sightings will actually help you out further down the line.
1 – Step One: Location, Location, Location
Bats like to get in through the attic – it is high up there, not a space that you visit all that often, it's dark, and they can set up a roost and then live relatively unbothered for a long time. That's where you should start looking when you think you might have dead bats in the attic, looking both from inside the attic, as well as on the outside.
Bat holes can be as small as 3/8 of an inch across. They will be found in many places, covering the entire outside of your property, but hard hit spots will include:
Roof tiles with gaps
tiles in general
Where roof and walls meet
Where chimney and walls or the roof meet
Vents and ducts
Under broken paneling
Broken/un-maintained soffits and fascias
Drip edges
Flashing
Porch roofs
We could carry on, but wherever you can find a tiny hole is a potential entry point.
2 – Step Two: Timing, Timing, Timing
Once you have figured out where the bats are getting in, it's time to get them out, although this is a job that we advise you leave to someone who has expert knowledge in the field. Bat removal is not a task to take on lightly, particularly if you don't know or understand the complex laws.
Removing dead bats is only going to be a small part of the removal job, and you will also find that the job is easier AFTER the colony has been evicted. (If you use a bat removal specialist, they will find and locate the dead bats on your behalf, as well as removing the live ones.)
As well as removing dead bats AFTER the rest of the colony has been evicted, the entire job can only really take place right at the end of the fall season, beginning to mid September. Anything you try to do before this point will disturb or disrupt a maternity roost and it is usually unlawful to do this.
3 – Step Three: Up Close & Personal
Again, this is part of the job that we definitely recommend that you leave to the people who know about it, but if you're going to try and remove dead bats yourself, make sure you've got the following safety equipment to hand:
Thick, rubber gloves
Eye protection/goggles
Full protective suit, including foot coveralls
A fire pit (to destroy everything at the end)
Flashlight
Disposal bags
Breathing/face mask
Ladder (and second person, for safety reasons)
Exclusion devices (in case you find any more bats on the hunt)
Sealing material (in case you find any additional holes that also need to be sealed)
Strong biological enzyme cleaners
Filter vacuum cleaner
Bucket, sponge, scrubbing brushes (all of which must be disposed of afterwards)
This list may sound extensive and it is, but all of the above things are necessary for a SAFE bat removal project, whether you're talking about live or dead bats. Even dead bats come with biological threats that you must remove.
Getting up close and personal to bats means that you are getting up close and personal with diseases like Histoplasmosis and rabies, as well as parasites and bugs like bat bugs, mites, fleas, and more. The disease spores for Histoplasmosis (a fungus) can be airborne when the dry feces crumbles and turns into dust, and then you can inhale those spores, exposing yourself to lung infections and even potentially death. Even if you're only clearing away dead bat remains, you will still need to take the same precautions – there is likely to be guano (bat feces) sprinkled around the place.
The decomposing carcasses of potential rabies hosts, including bats, can also still carry a high disease threat. The virus can live in the moist body tissue of an animal for some time after death actually occurs. You probably shouldn't let your pets get too close to bats – dead or alive – either.
4 – Fire It Up
Once you are sure that every last trace of that animal has been safely put into a bag (and then tied up), hovered up, or scrubbed away, it's time to have a fire or find an alternative safe method of disposing of everything. You can't bury dead bats in the back yard because your cat or dog will probably dig it up (and potentially expose itself and you to the rabies virus again, at the same time). You can't exactly throw them in the garbage, either. Your friendly neighborhood foxes are then going to come along and devour the carcass, or a rat/raccoon/other scavenger will do it.
A fire can get rid of everything safely and effectively.
5 – No More Visitors
An infestation of bats will return unless you make sure it has no way of doing so. If you seal up every potential hole, crack, crevice or gap that a bat or other nuisance critter could use to get in, your home will be safe, but you must make sure that you are paying attention to every part of the building, and not just the places that everyone on the internet tells you to look.
We personally recommend removing bats by way of a professional or specialist company, whether those bats are alive or dead. The threats and damage that come along with them are pretty dangerous, and there is always a really big risk that you don't get every part of the journey right, allowing it all to happen again in the future.
Go back to the Bat Removal home page or email us for more info about A Step-by-Step Guide to Finding & Removing Dead Bats
